Not medical advice — written by Ngoc Vietsmall, who is not a healthcare professional.
This article summarises publicly available medical information for general readers. It cannot account for your history, medication or symptoms, and it is not a diagnosis or a treatment plan. Any dose mentioned comes from published labelling or guidelines — only your own prescriber can decide what is right for you.
Always speak to a doctor or pharmacist before starting, stopping or changing any treatment. If symptoms are severe or getting worse, seek urgent care. Full disclaimer · How this is written
Need a quick answer? Use a gentle, nontoxic mix of sterile normalsaline and a mild neutral detergent to clean your tube, inner cannula, and surrounding skin every day. Follow the stepbystep routine below (plus a printable checklist) and youll keep infections low while the tube stays functional.
Why It Matters
Cleaning a tracheostomy isnt just a choreits a lifeline. The right tracheostomy cleaning solution reduces bacterial colonisation, preserves the tubes material, and protects the delicate skin around the stoma. Skip the proper routine, and you risk mucus buildup, irritation, or even a serious infection that could land you back in the hospital.
Benefits of a Proper Solution
- Minimises bacterial growth on the tube and skin.
- Keeps silicone, plastic, or metal tubes from cracking or becoming brittle.
- Reduces redness, itching, and discharge at the tracheostomy site.
Risks of Using the Wrong Product
- Harsh chemicals (bleach, alcohol) can erode tube material.
- Residue from scented soaps may trigger allergic reactions.
- Incomplete cleaning can trap secretions, leading to breathing difficulties.
Solution Comparison
| Solution | Material Compatibility | Pros | Cons |
|---|---|---|---|
| Sterile normal saline | All tube types | Gentle, nonirritating | Needs mixing |
| Neutral detergent (e.g., Ivory liquid) | Plastic & silicone | Effective at removing debris | Must rinse thoroughly |
| 3% hydrogen peroxide | Plastic & stainless steel | Adds sterilising power | Not safe for silicone |
Choosing Solution
When youre gathering supplies, think about both convenience and safety. Most clinicians recommend sterile normal saline as the baseit's the gold standard for cleaning tracheostomy tubes (Johns Hopkins). Pair it with a mild neutral detergent to break down mucus without damaging the tube.
Recommended Ingredients
- Sterile normal saline (0.9% NaCl) clean and soothing.
- Mild neutral detergent a few drops in a cup of water works.
- Optional: 3% hydrogen peroxide for plastic or metal tubes, but skip if you have a silicone tube (University of Iowa).
DIY vs. Commercial Kits
Buying a premade tracheostomy cleaning kit is handy, especially if it includes a soft brush and sterile containers. However, a homemade solution is just as effective and often cheaper. Mix 1ml of neutral detergent with 250ml of sterile saline, stir gently, and youve got a readytouse cleaning solution.
What to Avoid
- Bleach or household disinfectants.
- Alcoholbased mouthwashes.
- Scented soaps or body washes.
- Toothbrushes (theyre too abrasive).
Cleaning Procedure
Prepare Your Workspace
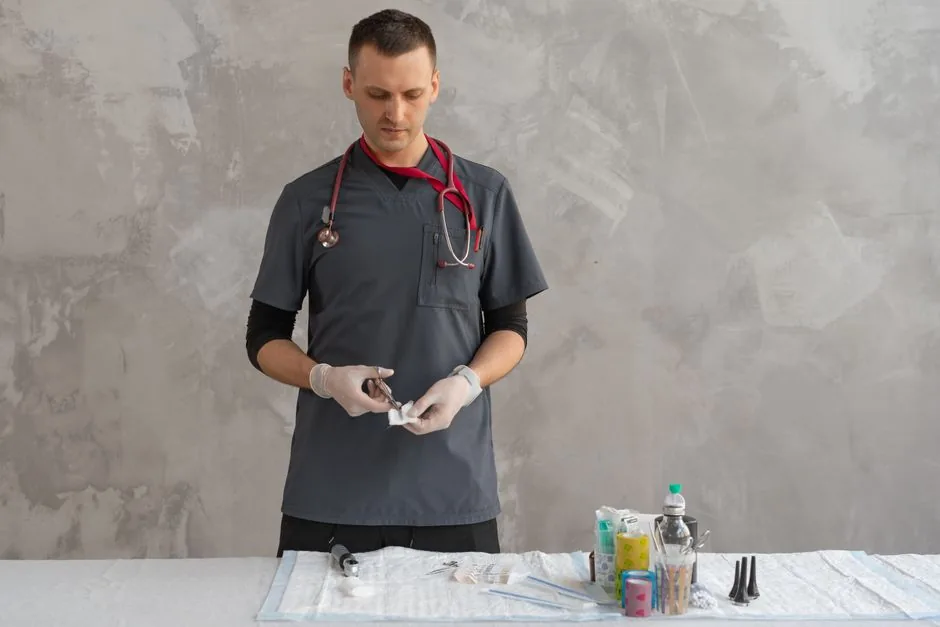
- Gather everything: clean towels, sterile container, solution, soft brush, and disposable gloves.
- Wash your hands thoroughly, then put on gloves.
- Lay a waterproof mat on a flat surfacethink of it as a minicleanroom.
Outer Tube & Stoma Site
Start with the outer tube. Rinse it under warm tap water, apply a tiny dab of neutral detergent, and give it a gentle rub. Rinse again until the water runs clear. Then dip the tube in your tracheostomy cleaning solution for about 30 seconds. Lift it out, shake off excess, and let it airdry on a clean towel.
For the skin around the stoma, use only sterile normal saline. Pat the area dryno rubbing. This keeps the skin from becoming irritated or raw.
Inner Cannula
The inner cannula is where secretions love to hide, so give it extra love.
- Brush method: Use a dedicated trach brush (never a regular toothbrush). Insert the brush, swirl gently, then rinse.
- Soak method: Place the cannula in a cup of neutraldetergent solution for at least 30 seconds, then rinse with sterile water.
- Drying: Shake off excess liquid, pat with sterile gauze, and let airdry for a minute.
Sterilising the Tube (Optional)
If you have a reusable metal tube, a brief soak in 3% hydrogen peroxide (3 minutes) adds an extra layer of safety. Autoclaving is only okay if the manufacturer says socheck the instruction sheet.
Reassembly & Final Check
Slip the clean inner cannula back into the outer tube, secure any ties or clips, and make sure the tube feels snug but not tight. Take a moment to verify that air flows freelyif you hear any unusual sounds, doublecheck the assembly.
Build Your Kit
Having everything at arms reach turns a messy chore into a smooth routine. Heres what to include:
Essential Items
- Sterile normal saline (prefilled vials or a large bottle).
- Neutral detergent bottle.
- Softbristle trach brush.
- Disposable gloves and sterile gauze.
- Waterproof tray or mat.
Printable Checklist
Download a quickreference PDF that lists each step, the solution recipe, and a daily log. Keep it on your fridge or bedside table so you never miss a beat.
Budget Alternatives
If youre watching costs, pharmacies often stock saline and mild dish soap thats fragrancefree. A simple brush can be bought online for a few dollarsjust make sure its labelled for tracheostomy use.
Common Mistakes
- Using a regular toothbrush it creates tiny scratches that harbor bacteria.
- Skipping the final rinse detergent residue can irritate the stoma.
- Reusing disposable brushes crosscontamination is a real risk.
- Forget to dry the inner cannula moisture invites microbes.
Each of these missteps is easy to correct once you know they exist, so keep this list handy.
When to Seek Help
If you notice any of the following, call your healthcare provider right away:
- Redness, swelling, or pus at the stoma.
- Persistent coughing, wheezing, or shortness of breath after cleaning.
- Visible cracks, discoloration, or deformation of the tube.
Having a trusted phone number for a tracheostomy nurse or your ENT surgeon can make a huge difference. Many hospitals also provide a tracheostomy care nursing procedure pdf that you can download for quick reference.
Quick Reference
Below is a onepage cheat sheet you can print and stick on your bathroom mirror. It summarises the solution recipe, daily schedule, and kit checklistall in under a minute of reading.
Daily Schedule
- Morning: Clean outer tube & stoma site.
- Midday: Inspect inner cannula; brush or soak.
- Evening: Final rinse, dry, and log the cleaning.
Solution Recipe
Mix 1ml neutral detergent with 250ml sterile normal saline. Store in a clean, capped bottle for up to 48hours.
Conclusion
Cleaning a tracheostomy tube isnt rocket science, but using the right tracheostomy cleaning solution and following a consistent routine can dramatically lower infection risk and keep the tube functioning smoothly. By mixing sterile saline with a mild neutral detergent, using the proper brush, and assembling a simple homecare kit, youll protect both the stoma skin and the tube material. Remember to inspect the tube daily, replace parts as advised, and never hesitate to call your healthcare team if anything looks off.
Take action today: download our free cleaningchecklist PDF, assemble your kit, and breathe easier knowing youve got the safest routine at hand.